Photograph a Tree
Watching a tree is a great thing to do. You can learn a lot about your home just by observing the local trees.
A tree is probably the most knowledgeable living being about the small space where it lives. It stands there day in, day out, rain or shine. In order to thrive, a tree needs to know how to cope with every single element in its immediate proximity. It needs to know where the sun shines, how the wind blows and where the water flows. It needs to understand how the seasons turn from Spring to Summer to Fall to Winter. But trees are slow. They grow and change over the course of weeks, months and years. They gradually adapt themselves to their environment.
If you want to observe a tree on its own time scale, you would need to speed up your perception of time. Fortunately you can do this with just a smartphone camera, some persistence, and some software to tie it all together.
Step 1: Pick a Tree
Any tree will do, but some are easier to observe than others. Try to choose a tree that you can reliably visit without too much trouble, one that you pass by on most days. Maybe choose one that is close to your home, school or work.
Step 2: Pick a Vantage Point
Find a spot to observe the tree. You will need to go to this spot every day so ideally this spot should be both easy to find, and easy to replicate day after day. Maybe pick a spot next to a rock, or by a street pole, or even by another tree. For the video above, I picked a spot right next to a lamp post just off the path.
Be sure that your spot will give you a clear view of the whole tree, and you are able to fit the whole tree in the frame of your camera. You could try to get creative and try move around each day but I think you will find that a single spot is going to give the best results.
Step 3: Photograph Your Tree
Try to pass by your tree every day to photograph it. Ideally you should try to visit your tree at a specific time of time day, so the lighting doesn't change too much.
When photographing your tree, try to line up your shot so that the tree is always in the same place in your camera frame. There are a few ways you might do this. You might try to line up the top of the tree with the top and middle of the frame. Or you might try to line up the bottom of the tree with the bottom third of the frame.
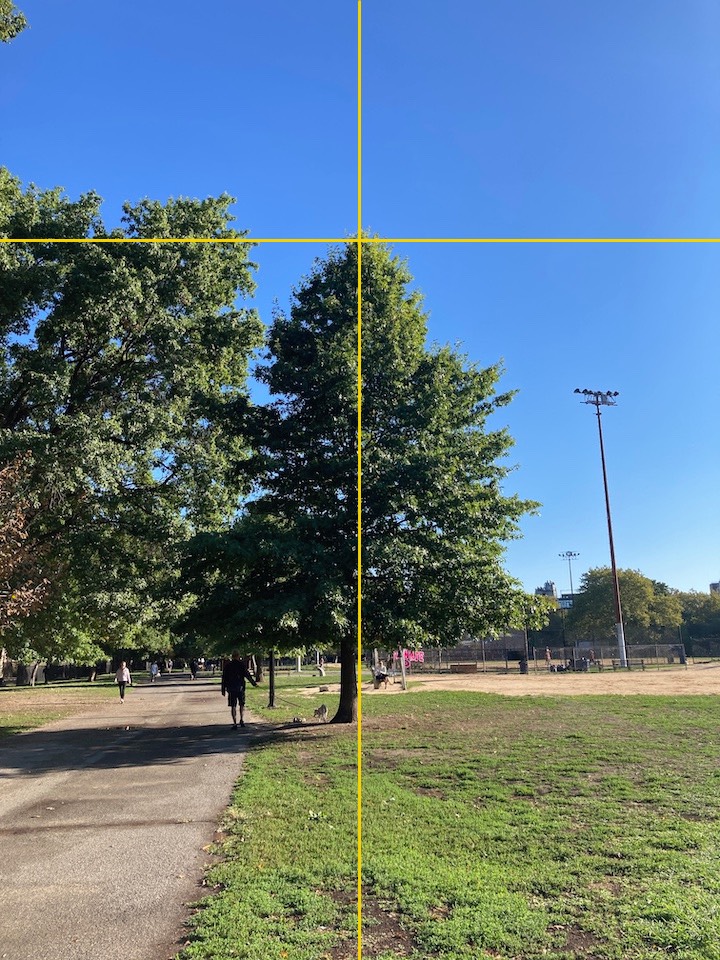
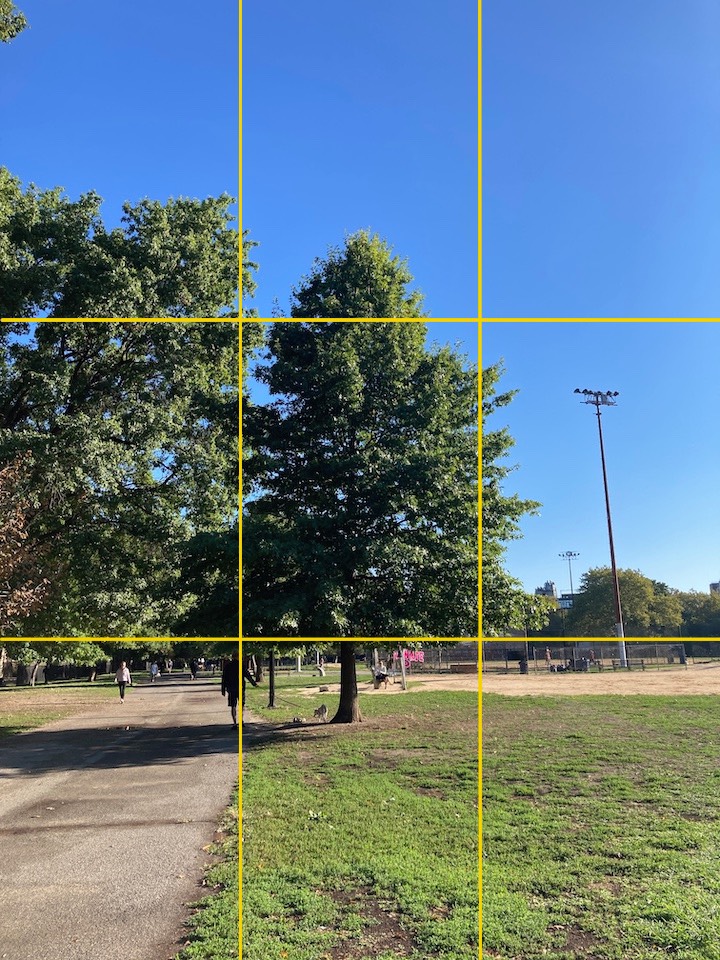
On an iPhone you can add a grid overlay to your camera's preview by going to Settings > Camera > "Turn on Grid". This may help you line up your shots against the reference lines.
Step 4: Making a Timelapse Video of Your Tree
After a month (or longer) of photographing your tree every day, you will have many photos of your tree. Collect them in a single folder sorted alphabetically. There are a lot of tools that will help you convert these photos into a video or an animation. This will let you see how your tree has changed over the season. I put together a simple web editor that you can use to make a timelapse video from your images.
Appreciate Your Tree
That's all there is to it. You can now look at how your tree has changed from day to day over the past weeks. In the editor you can try speeding up and slowing down the duration of each shot. Hopefully you will notice how the tree changes from day to day. The leaves move, and the branches change with the weather. Maybe you will be curious to see how this tree changes over the next season. You could even start capturing images for a whole year. Hopefully you will have developed a deeper sense of connection with your tree.
Made at Recurse Center, Fall 2, 2022.
Source code on Github.
Contact email: info@photographatree.com